
How to Use Our Service CoinSir
Follow these simple steps:
Setup in 5 steps
Setup Overview
CoinSir monitors all major exchange pairs 24/7. When any pair surges beyond your configured threshold, you’re alerted within seconds.

Detailed Instructions
Create an account
Create an account
- Email signup
- Google OAuth
- Instant access
- No credit card
Subscribe to our plan
Subscribe to our plan
- Multiple tiers
- Flexible billing
- Upgrade anytime
- Cancel anytime
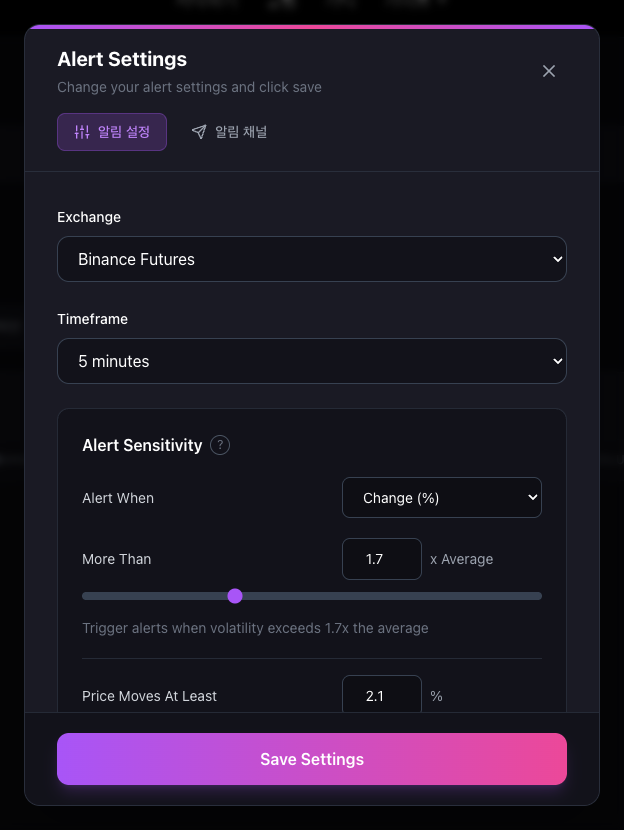
Choose the exchange, alert type, and alert sensitivity according to your subscription plan
Choose the exchange, alert type, and alert sensitivity according to your subscription plan
- Pick exchange
- Set alert type
- Tune sensitivity
- Multi-pair support
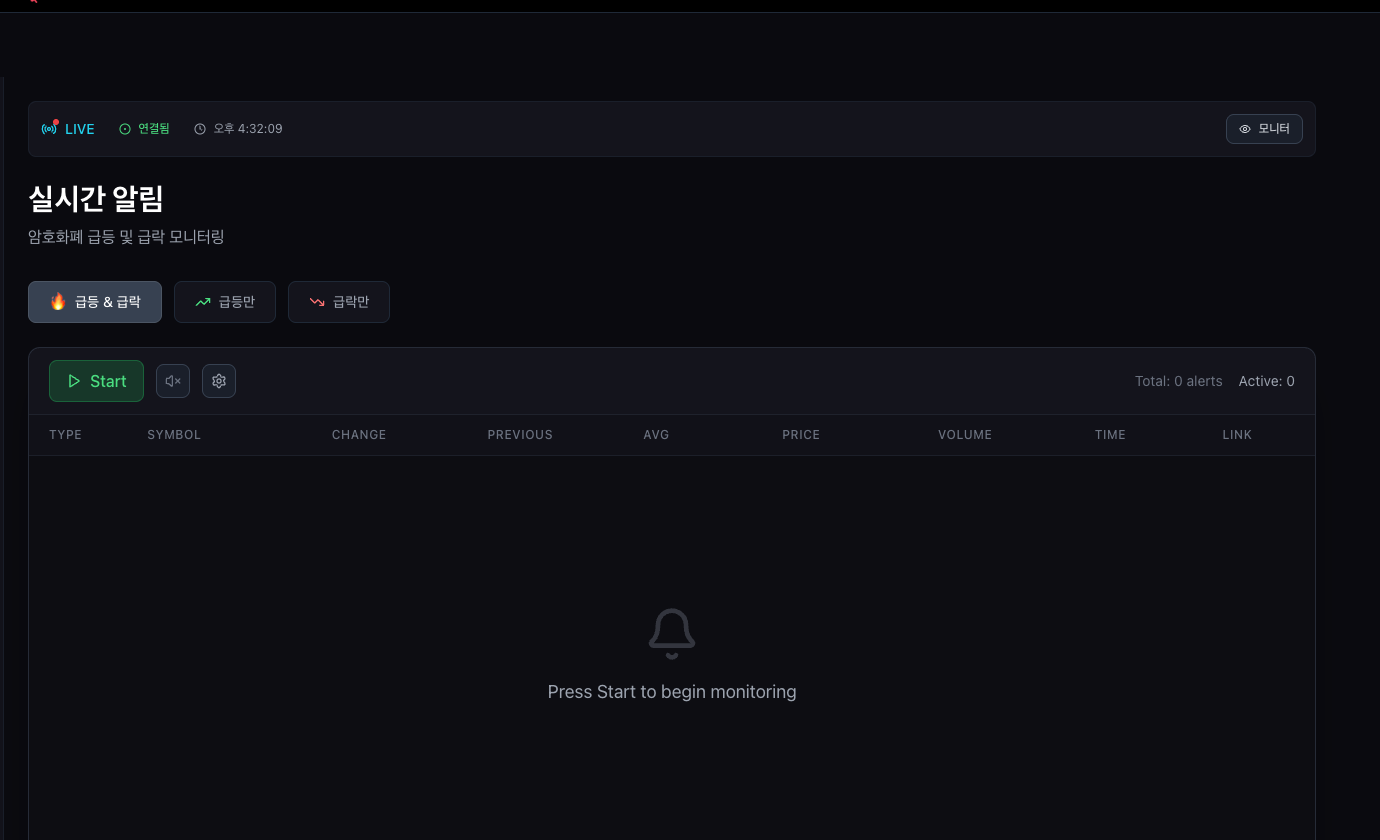
Press the play button to receive notifications
Press the play button to receive notifications
- Instant start
- 500+ pairs
- 4 exchanges
- ~15s avg latency
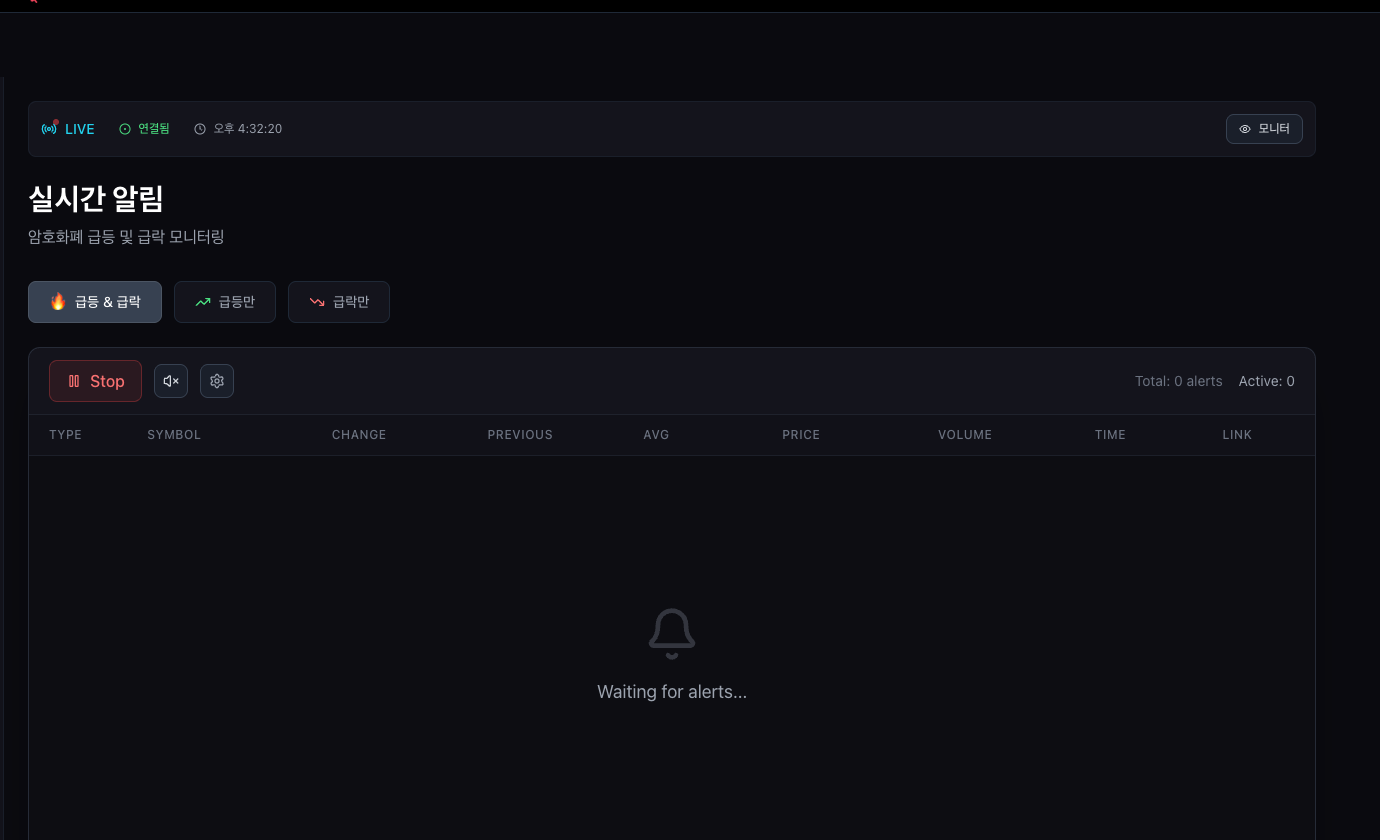
Tap the sound button to enable sound alerts
Tap the sound button to enable sound alerts
- Browser push
- Audio alerts
- Background tab
- Email backup
Push shows only in the sidebar?
If web push doesn’t appear as an on-screen banner and only piles up in Notification Center (the right sidebar), it’s a macOS notification setting — not CoinSir. Work through the checklist below top to bottom. (Windows has no such suppression, so banners show by default there.)
- 1. Check if your screen is being recorded or shared
macOS hides banners while recording, mirroring, or sharing the screen (the most common cause). Go to System Settings → Notifications → turn on "Allow notifications when mirroring or sharing the display", or quit screen-capture apps like OBS. A recording dot in the menu bar means capture is active right now.
- 2. Check Chrome’s alert style
System Settings → Notifications → Google Chrome → set "Alert style" to "Banners" (auto-dismiss) or "Alerts" (stay until dismissed). "None" shows nothing on screen and routes everything to Notification Center. "Allow notifications" must also be on.
- 3. Turn off Focus / Do Not Disturb
A crescent-moon icon in the menu bar means a Focus is on. Turn it off in Control Center, or add Google Chrome to the Focus’s "Allowed Apps". If "Share across devices" is on, enabling Focus on your iPhone also enables it on your Mac — check the phone too.
- 4. Turn off Scheduled Summary
System Settings → Notifications → turn "Scheduled Summary" OFF. When on, it batches notifications and delivers them only at set times.
- 5. Set notification previews
System Settings → Notifications → set "Show previews" to "Always".
- 6. Still stuck? Restart the notification system
Changing settings repeatedly can wedge the macOS notification daemon. Run killall NotificationCenter in Terminal, then test again (it’s safe and restarts instantly).
Tip: use the "Test" button under Alert settings → Channels → Push Notifications to fire a test instantly. Live surge/drop alerts are intermittent, so after changing settings, verify with Test rather than waiting.
Video Tutorials
Ready to start?
Set up your first alert in under 2 minutes. Free trial, no credit card required.